3D Glasses For 3D Movies

On the way home after the Smith community group I decided to get a movie. Got Journey to the Center of the Earth with Brandon Fraser. I wasn't greatly impressed with the movie. It was a fairly predictable and campy film. However, I'm not an overly critical movie critic and generally enjoyed it in spite of it all. It is definitely a film with a younger audience in mind, which can either be annoyingly juvenile or refreshing (void of "adult" junk). I was okay with it and got a couple brief chuckles. I generally don't mind Brandon Fraser's silly style of movies with exaggerated action that makes you go, "yeah right!" Besides, Brandon's voice, face and big smile reminds me a tiny bit of my brother-in-law, Micah - and that's a good thing.
To my dismay and annoyance, I noticed some severe ghosting as I began watching the movie. It took me a couple seconds to realize I rented a 3D stereographic movie. I realized immediately that I needed some 3D glasses for my brain to translate the anaglyphic imagery.
I set to work at finding household supplies to make some glasses. 3D glasses are very simple - two transparent lenses, one red and one blue. It occurred to me to find some clear plastic film and "paint" it with Sharpie markers. I looked at ziploc bags, but they were too cloudy. The first thing I tried was cellophane plastic wrap, which is fairly clear. It was a tad on the flimsy side and was difficult to work with. My second idea was to use some "crystal clear" packaging tape. That was halfway clear with minimal distortion and cloudiness.
Homemade 3D Glasses Version 0.0083v Beta
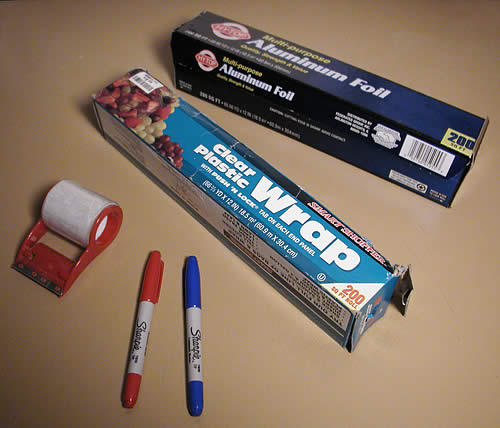
Supply List
- cardboard or tin foil
- acetate sheets (best), crystal clear tape or stirdy cellophane
- red and blue Sharpie permanent markers
- a string, rope or a bunch of rubber bands
- scissors
- garbage can (a waste basket or trash bin will suffice)
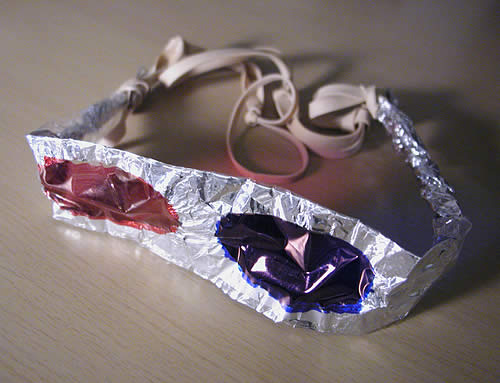
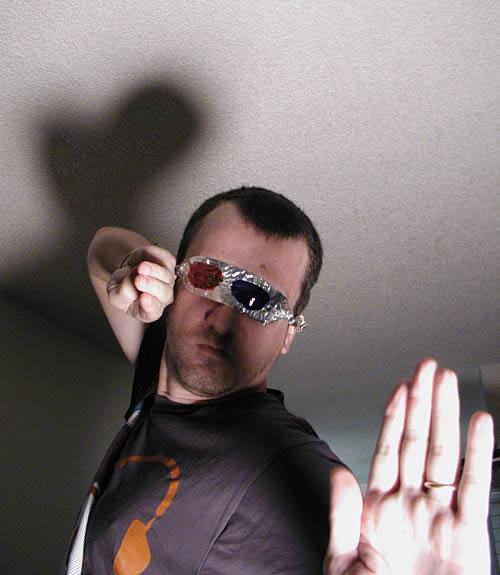
Instructions: Though cardboard would be far superior, I suggest using the less effective (but cool and shiny looking) tin foil to form the body of the glasses. Roll out a piece that is a couple feet long. Fold it over itself a number of times until it is a strip about 2 inches wide. Using the scissors, poke two holes spaced apart to match the distance between your eyes and cut ellipses, rectangles, stars or hearts for the eye openings. Cover the two holes with clear packaging tape, wrapping around the tin foil, careful not to produce any creases or folds in the tape. Paint over the openings that are now covered with packaging tape with Sharpies - one side red and one side blue. It doesn't really matter which side is red or blue because these glasses are symmetrical and can be flipped either direction on your "head-face". Twist the excess tin foil on both sides of the lenses for something to wrap around your head or ears. If this is not long or sturdy enough, tie a string or chained rubber bands on both ends of the foil - enough to wrap around the cranium, aka mind-melon. When finished, you should have something that resembles the picture below. At this, throw your invention in the waste basket because it is a piece of junk and absolutely won't work. Cut your losses and start over.
Homemade 3D Glasses Version 1.0
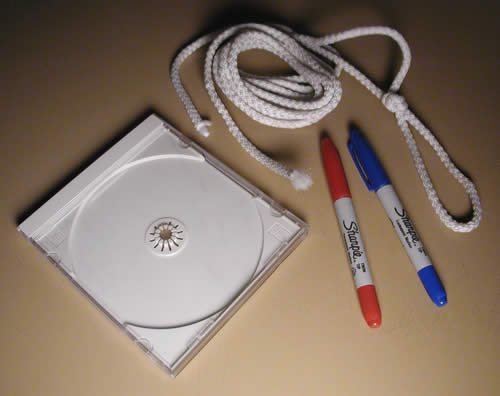
Supply List
- CD jewel case - the old-fashioned, clear variety
- blue and red Sharpie permanent markers
- a human hand, rope or string
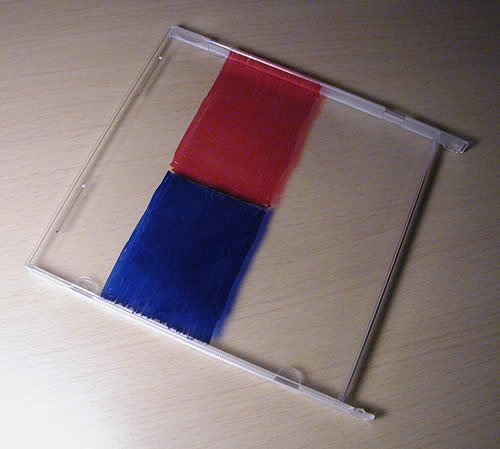
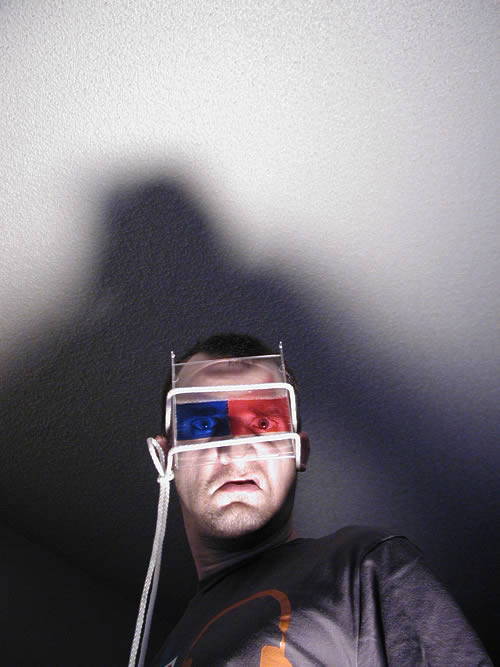
Instructions: Take apart the CD jewel case, keeping either the front or back panel. Paint red and blue regions with the Sharpie markers, spaced apart to match your eyes. Make the shapes large enough to cover most of your field of view. Tip: to fill in an area with the marker, apply with long strokes in one direction (not short, back and forth). There is a "sweet spot" on the marker's tip that paints better... rotate the pen around until it produces nice strokes without scratching off your previously filled area. Use the human hand to hold the large rectangular "glasses" in front of your face. If you don't want to exercise the hand, wedge the hi-tech device to your noggin with a rope, Rambo style. Prepare to be mobbed by fans who celebrate your keen sense of trendy fashion.
Note: with both sets of glasses (the ones in the garbage, and the big plastic rectangle), try switching the red and blue from right to left, rotating or flipping the apparatus. There are a number of web sites with sterographic or anaglyphic imagery you can look at with your new glasses, including plenty test images on the Wikipedia article. I'm not sure there is a rule of thumb that all movies follow. If neither rotation yields popping 3D imagery, either 1) you are using the first version of the glasses that should rightfully be in the trash bin and need to upgrade your eyewear to version 1.0, 2) both inventions totally stink and should be thrown in the garbage can, or 3) the movie you are watching is not a 3D movie, so you are wasting your time - except for the reward of having some mega fashionable glasses for everyday use (though don't come crying to me if you go blind - either color blind or total darkness, as I wouldn't suggest wearing 3D glasses except when watching 3D movies).
"Who-what are you!?"
"I'm your worst nightmare!"
"Who, Batman? Rambo?"
"No, I'm Homemade 3D Glasses Guy"
"Wow! The variety of your styles is imbued and exasperated with studious synchronicity and wallop-punt-tackle potentiality!"
P.S. I ended up watching most of "Journey to the Center of the Earth" without my 3D glasses because they didn't work very well. I just put up with the severe ghosting and horrid imagery. Because of this, I feel creating these two 3D glasses was very rewarding. Now I can make a fool of myself!
In truth, I'd prefer to stare through my ViewMaster for hours on end (similar dual-image 3D "technology"). I just need to get some more slides. I only have a few. I think it would be a cool collection to start.